Colour × Makeup × Hong Kong
Daily Makeup, Brows and Coloured Hair Balance

A natural daily balance after colouring your hair does not come from matching brow, liner and hair shade exactly. Start with the hair as the outer frame, keep the brow structured but breathable, and place liner only where it still makes sense with your eye open.
A new hair colour can make an old brow routine look unexpectedly dense, flat or cool. That does not mean your natural brows suddenly need fixing. It means that the lightness, warmth, dimension and face-framing placement around your face have changed. A useful daily look lets hair, brows and eyes each do a different job: hair sets the perimeter, brows give a quiet structure, and eyes hold attention at conversational distance.
The aim here is not a perfect photo at one angle. It is a routine you can repeat before a commute, while wearing your real glasses, and under the lighting you actually meet. The timings and situations below are planning examples, not promised results. Use them to make small, reversible choices and to notice which detail makes you feel most like yourself.
01
Why should brows not be a literal copy of coloured hair?
Treat coloured hair as a frame made from many values, not a single swatch that must be copied into your brows. Even a dark colour has root shadow, reflected light and movement; a brow product sits close to the eye and can read much denser in a small area. Begin with bare brows. Brush through them, notice where the hairs already create a line, and fill only the spaces that interrupt the shape you want. This preserves a useful difference between hair texture and brow definition.
The same principle applies when your colour has dimension. A Canvas Blend balayage overview is helpful for seeing why light pieces around the face do not require an equally light brow. Instead, assess visual weight. If a bright face frame makes the old brow tail look like a solid block, reduce pressure, shorten the fully filled section, or diffuse its lower edge before replacing every product. For warmer or cooler-looking colour, use the context in our cool-versus-warm hair tone guide, then test your makeup in daylight rather than relying on a shade name.
Ask three practical questions at a window: does the brow start grab attention before the eyes, does the tail look like a stamp, and does the eye still have a readable outline? A softer front and a more selective tail are often enough. This is not a rule that lighter hair must have lighter brows, nor a correction of anyone’s natural features. It is a way to choose contrast that suits your hair, clothing, mood and preferred level of definition on that particular day.
Match visual weight, not labels: retain natural hair texture in the brow before you make a colour change.
02
With a short morning, should brows or eyes come first?
For many workdays, a practical order is complexion first, brows second and liner last. Once a light base and any targeted concealing are in place, you can see where the brow actually has gaps. Once the brow gives the face a gentle frame, it is easier to decide whether your eye needs a lash-line definition at all. If time is disappearing, a neat brow from front to arch usually gives more whole-face order than trying to finish a long, precise wing.
The table is a planning example for a twelve-minute limit. Its arithmetic is transparent: 2 + 3 + 3 + 4 equals 12 minutes. It is not a productivity target or a claim that every face needs the same steps. Repeat a version on three ordinary mornings, changing only one variable each time. You might soften the brow tail on day two, then keep that brow and move the liner endpoint on day three. That makes it possible to identify what changed instead of judging a completely new face every morning.
If you want guided practice around a real commute and product bag, BigDeal Make Up’s daily makeup class describes a repeatable routine with light base work, natural brows and everyday eye definition. Treat that page as an enquiry starting point rather than an assumed outcome: confirm the current format, language, dates, tools and materials in writing before enrolling, and explain the actual time you have before leaving home.
| Stage | Time | Keep the task narrow | Quick check |
|---|---|---|---|
| SPF and light base | 2 minutes | Even the areas that need it; do not chase full coverage | No obvious gathering around the nose or hairline |
| Brows | 3 minutes | Brush, fill gaps, soften the front | The pair feels balanced without being measured as twins |
| Eyes | 3 minutes | Define upper lashes and a short outer endpoint with eyes open | The outline reads when you look straight ahead |
| Lips, cheeks and finish | 4 minutes | Use one easy-to-refresh colour and tidy edges | The whole face still feels like you with glasses or phone camera |
- Time a normal weekday routine, not a relaxed weekend version.
- When one stage always runs long, reduce its tools or surface area before trying to rush every movement.
- Carry one touch-up item that solves a known problem instead of rebuilding the whole face at lunchtime.
A routine becomes dependable through sequence and restraint, not through adding more products.
03
How can a brow stay defined without outweighing newly coloured hair?
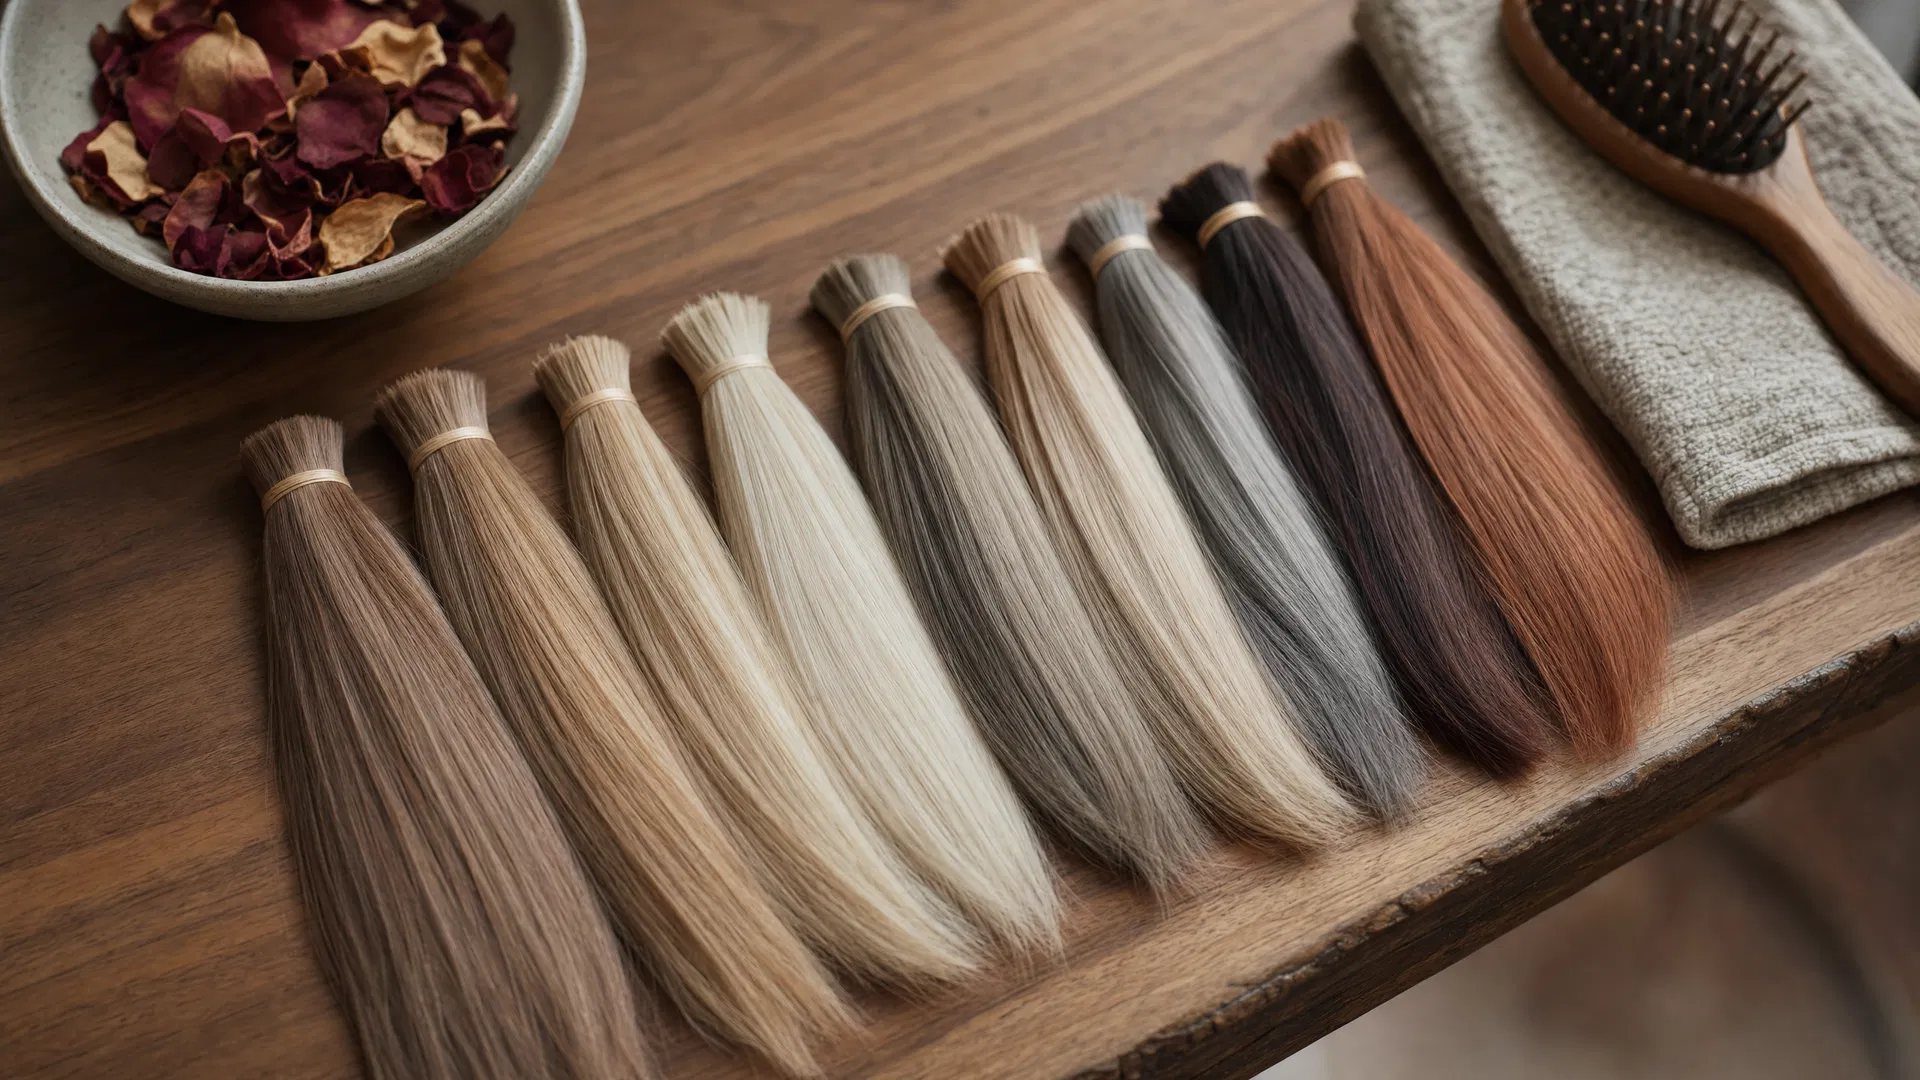
Work in three zones rather than colouring a complete brow in one pass. Brush hairs upward and outward first. Use almost no fresh product at the front, place short strokes through genuine gaps in the middle, and decide at the tail whether you need extra clarity at all. Then run a spoolie from the front toward the arch. This removes the abrupt skin-level edge that can make a brow feel too dark beside fresh colour, even when the product shade itself is reasonable.
Hair with delicate high points can make a filled, flat brow look heavier by comparison. Looking at fine babylight placement or face-framing highlights can help you observe the rhythm of light around the temples. The goal is not to make your brows imitate those light strands. It is to leave enough brow texture that the eye can travel from hair to brow to eye without stopping at a single opaque band. If you tie your hair up and expose a darker root area, you may choose a touch more tail definition, while still keeping the front soft.
For a structured way to practise this sequence, BigDeal Make Up’s brow design guide discusses observing growth direction, mapping temporary reference points, and softening product after small additions. It does not prescribe one permanent brow shape. If you are considering trimming, tweezing or another removal method, disclose any irritated or recently treated skin first and confirm what is appropriate for the session.
Try a simple planning comparison on one unhurried evening. On the first side, fill the tail with firm pressure. On the other, add only a few hair-like strokes to visible gaps and brush them out. Step back and assess your full face rather than zooming in. The useful result is not which side looks most like a social-media template; it is which one remains comfortable when you speak, wear a mask, tuck hair behind an ear or see yourself in an office lift.
Keep the brow front textured and make the tail earn its extra density; that is more flexible than forcing a hair-colour match.
04
Why is open-eye liner more useful than drawing one long line with the lid closed?
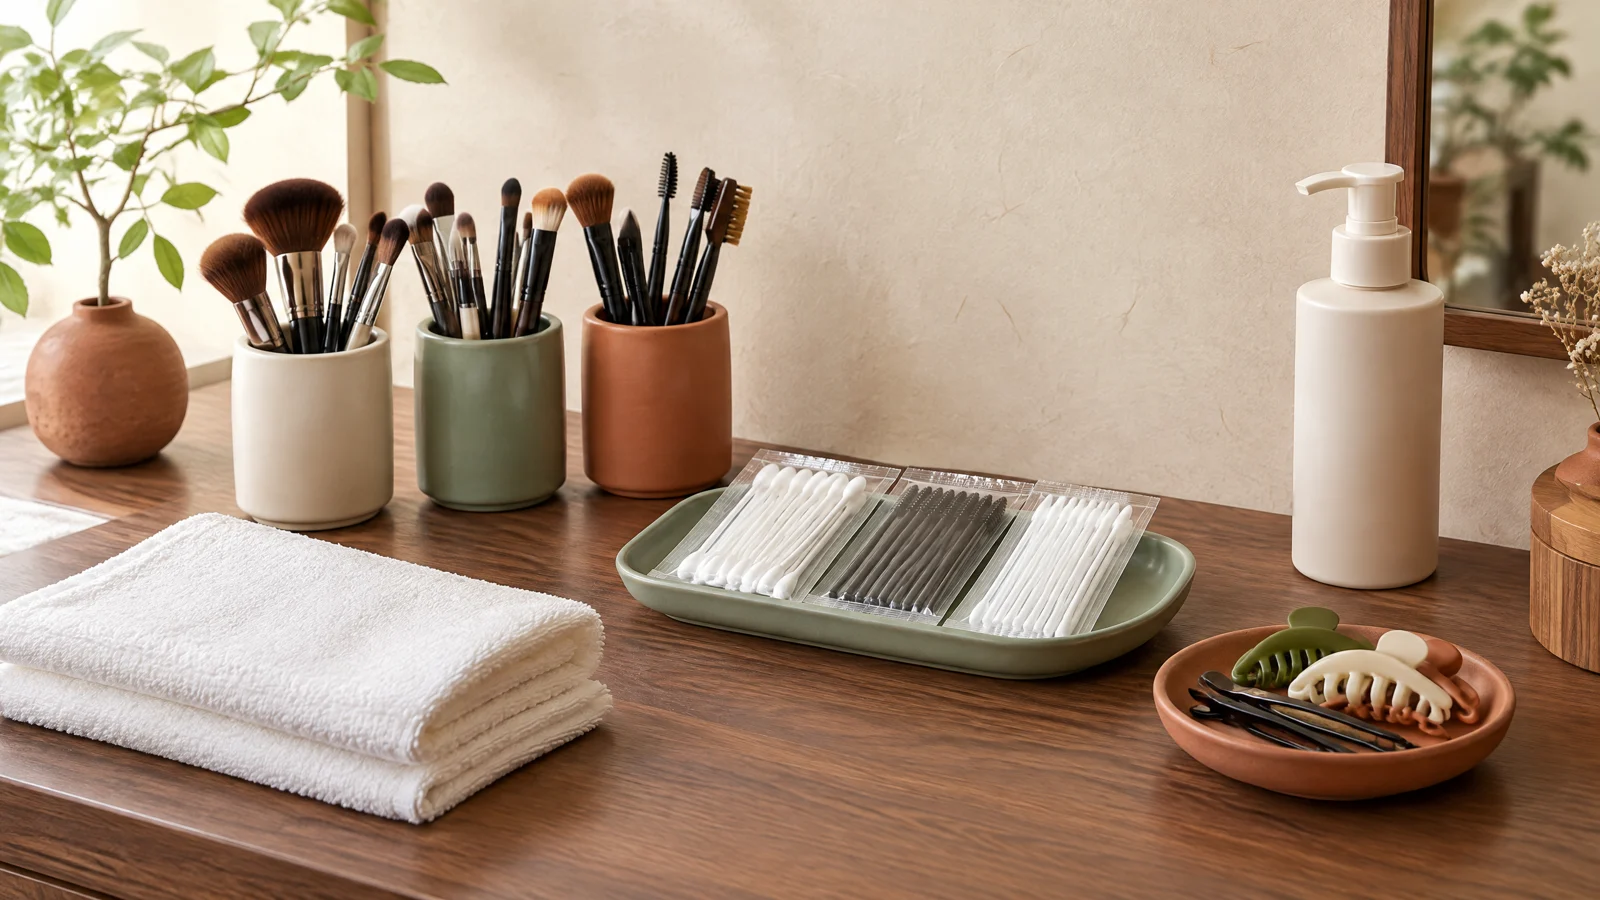
For everyday liner, decide first which part of the lash line needs definition when you are looking ahead. Position the mirror near eye level, support your elbow on a counter or desk, and place a tiny endpoint dot with your face relaxed. Connect from the middle of the lid in short strokes. If a fold breaks the direction once your eye opens, shorten the end or lower it. If there is still visible lid space, add depth gradually. This makes the result responsive to expression rather than to a flat, closed-lid outline.
Liner is a temporary visual choice; it does not change eye structure, and it does not need millimetre-for-millimetre symmetry. If visible lid space is limited, a fine line close to upper lashes, a lighter inner corner and a little more depth only at the outer third can retain openness. If you prefer softness, press deep brown shadow into the lash roots rather than committing to a full black wing. BigDeal Make Up’s eyeliner for small eyes guide similarly separates endpoint, taper, thickness and visible lid space, which is more useful to practise than chasing one continuous stroke. Confirm any actual lesson arrangement and supplies separately.
Do not push through eye discomfort by changing technique. FDA guidance says to stop using an eye cosmetic immediately if it causes irritation and to seek medical advice if irritation persists. It also advises avoiding eye cosmetics during an eye infection or inflamed skin around the eye, washing hands before application, and keeping eye-area instruments clean [1]. For contact-lens wearers, product labels, lens instructions and appropriate clinical advice remain important.
Finalise liner with eyes open, at a normal distance and through natural expressions, so it supports your real face in motion.
05
How do glasses, office light and phone photos change the decision?
Glasses redraw the boundaries around brows and eyes. A dark, substantial frame already creates contrast, so a sheer brow front and short liner can look sufficiently intentional. A fine or transparent frame adds less structure, so you may prefer a little more clarity after the brow arch or along upper lashes. Test with the pair you actually wear. Look from arm’s length, then turn slightly and look down at your phone. A magnifying mirror is useful for application but poor at showing the proportion other people see.
One makeup look can read differently under overhead office lights, a lift mirror and window daylight. You do not need to force an identical result in every setting. Use one repeatable window position and one ordinary indoor mirror. Take a relaxed, front-facing photo in each. If the brow tail reads too hard by the window, soften the edge before changing its entire colour. If liner vanishes indoors, define the lash root rather than making the full line thick. This is a planning test for your own choices, not a camera-performance promise.
Hairstyle matters too. A centre part exposes more forehead and can make brow shape feel stronger; a side fringe, tucked hair or a bright face frame can create different visual weight on each side. Browse the Canvas Blend gallery for a way to observe how hair placement changes a facial focal point, but make the final choice in your own regular light and with your own movement.
Your frame, distance and lighting are part of the makeup brief; test them before you judge a brow or line as too much or too little.
06
What belongs in a daily touch-up kit without making brows and eyes heavier?
A small bag should preserve the balance you made in the morning, not invite a full second application. First name the problem that actually recurs: a brow tail brushed away by fringe, liner transferring at the outer corner, or lips fading before an evening plan. Carry one response for that known issue. At lunchtime, remove any migrated product first, then add the smallest amount needed. Layering new pigment directly over a smudged edge usually makes both brows and eyes look more deliberate than you intended.
If dry coloured ends often fall across your face, assess hair neatness before assuming the brow has disappeared. A stray section can cast shadow beside the temple or interrupt the tail line. The practical maintenance context in our post-colour hair-care guide and damaged-hair repair overview can help you plan what to tidy, though individual hair response varies with condition, technique and environment and no product step guarantees a result.
- A clean mini spoolie to release a clumped brow front before deciding whether more product is necessary.
- Cotton swabs or tissue to lift a transferred eye corner or excess brow product instead of covering it.
- One familiar lip-and-cheek product to restore central colour without automatically intensifying the eyes.
- A small clean mirror or your usual glasses cloth so you can check the whole face at a useful distance.
- No eye product or tool if the eye area is irritated, swollen or raises infection concerns; pause use and prioritise appropriate care.
Clean first and replenish selectively. A kit works when every item answers a real, observed need.
07
How can three practice sessions reveal your own balance?
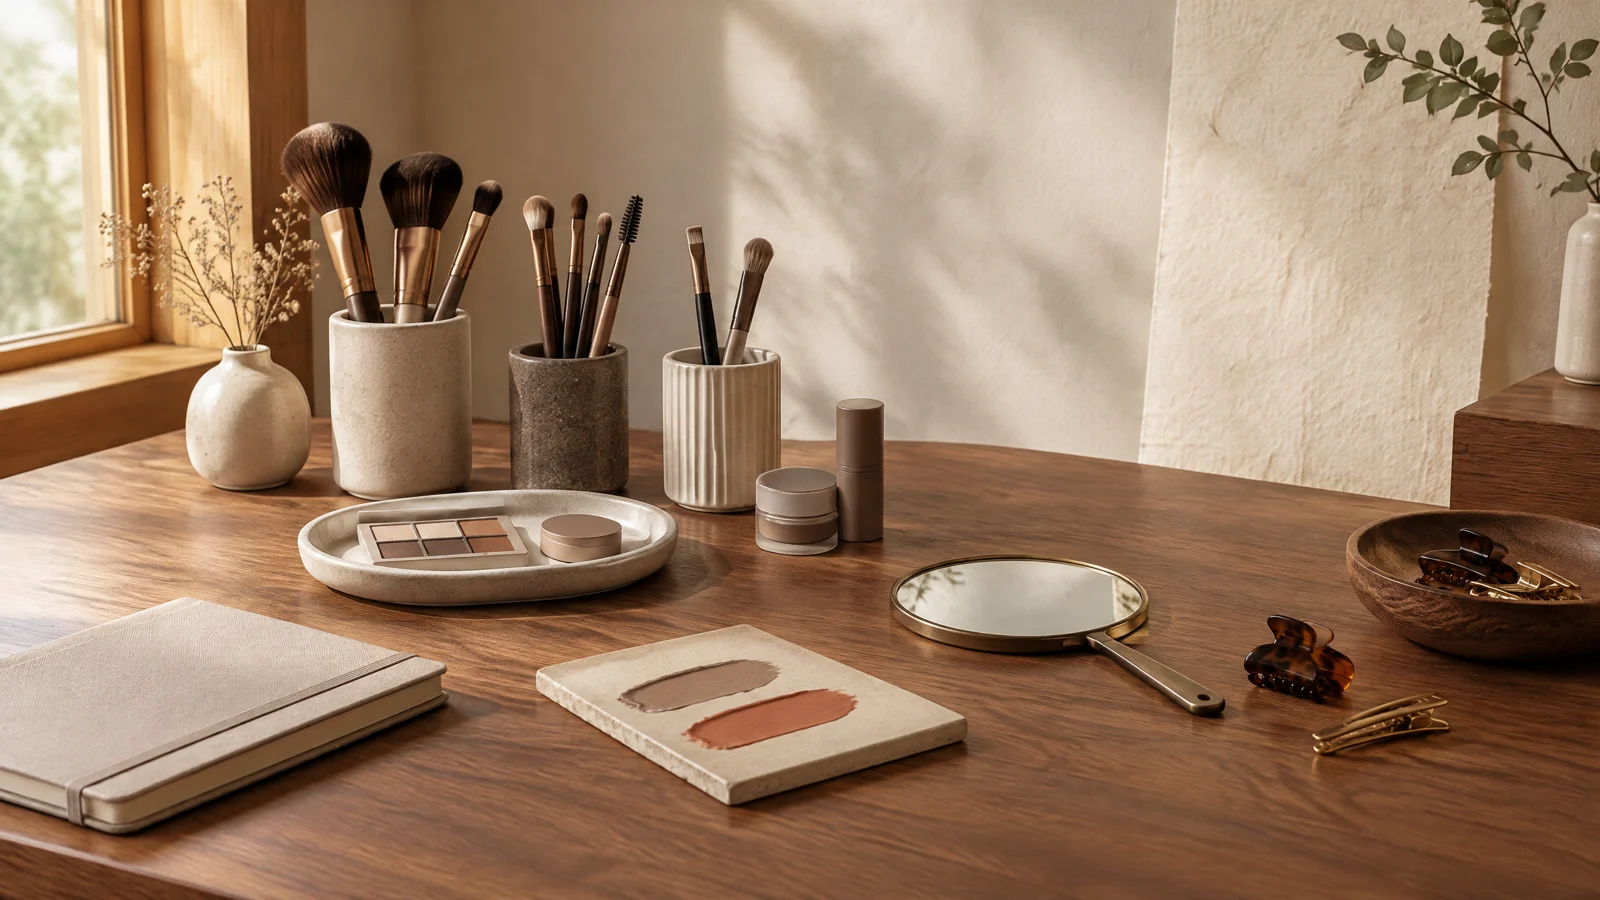
Use three planned repetitions instead of redesigning everything each time. In the first session, apply your ordinary routine and take a relaxed window-light photo plus a photo with your glasses. In the second, change only the brow: use lighter pressure at the front or shorten the tail. In the third, retain the second brow and change only the liner endpoint to shorter, level or softer. Photograph in the same place at roughly the same time, then write one observation, such as that the eyes are clear but the tail feels too solid. The notes are there to preserve your preference, not to grade your face.
Photos are supporting evidence, not the final answer. Check while smiling, talking, typing with your head down and walking toward a window. If one version looks dramatic in a still image but makes you repeatedly inspect your brow all day, it may not be your best daily version. A subtler combination that you can reproduce on an ordinary Tuesday can be a more satisfying choice than a high-impact look that depends on perfect conditions.
When planning a fresh colour or a hair consultation, bring those three images and say what you are trying to preserve: a softer brow, clearer eye definition or fewer morning steps. The planning approach in Canvas Blend’s bridal hair colour page may help you articulate colour and occasion context; use the current details on the booking page if you decide to enquire. These are planning resources, not a substitute for assessment of skin, eye discomfort or product suitability.
Change one variable per practice session. That is how you discover whether density, endpoint or hair framing is making the meaningful difference.
What else should you know?
Must brows be darker than newly coloured hair?
No. Keep your natural brow depth as a starting point and add product only where the structure needs support. Judge whether the brow overtakes the eyes or face-framing colour at normal distance, rather than whether hair and brow are the same shade.
Can I still use my old deep brown brow pencil after going lighter?
Possibly. Try it only in genuine gaps or at the furthest tail, with less pressure and a spoolie to soften the edge. If it remains visually heavy even with a light hand, then explore a softer tone or texture rather than erasing your brows to match the hair.
Are uneven liner wings automatically a mistake?
No. Eyelid folds, brow bone and expression can differ from side to side. Compare the effect with both eyes open and face relaxed, then adjust the side that reads most strongly. Visual balance is more relevant than identical measurements.
Can I practise tightlining when I wear contact lenses?
Consider your own lens comfort and follow lens instructions, cosmetic labels and appropriate clinical advice. Wash hands and use clean tools. Stop eye makeup if there is irritation, swelling, infection concern or persistent discomfort, and seek appropriate medical advice when needed [1].
My brow tail and liner fade by afternoon. Which should I touch up first?
Choose the detail that is making the face lose focus. If the eye looks tired, clean any transfer and restore only a small lash-line section. If the eyes remain clear but fringe has worn away the tail, fill the missing tail area only. Removing excess before adding product usually keeps the result softer.
How do you turn the plan into a next step?
Daily makeup after a hair-colour change does not require one fixed brow or liner formula. Read the hair, parting and glasses as the outer frame, then reduce your brow density, liner endpoint and touch-up kit to the few choices that actually make a difference. This makes the look more repeatable before real workdays and gives you a clearer language for what you enjoy.
Treat your first attempt as a revisable planning example: photograph it, observe it in movement, change one thing, and then decide whether you need a new product or supervised practice. Pause eye makeup for discomfort and prioritise appropriate care. Course content, tools, dates, prices and enrolment terms should always be confirmed directly and in writing with the provider.
Sources and editorial notes
This AI-assisted Canvas Blend editorial guide is not a first-person case study or an article reviewed by Vit So or Maggie Yeung. General information is not a substitute for individual professional or medical assessment. Confirm BigDeal arrangements in writing.
This is a Canvas Blend editorial guide and is not written or reviewed by Vit So or Maggie Yeung. Timings and scenarios are planning examples; makeup is removable cosmetic styling, not medical advice or a guaranteed outcome.